Both my cards today are variations of cards that I have CASED.

My first card I cased from BJ Peters. You can view her card here.

My second card I cased from Su Mohr. You can see her original post here.


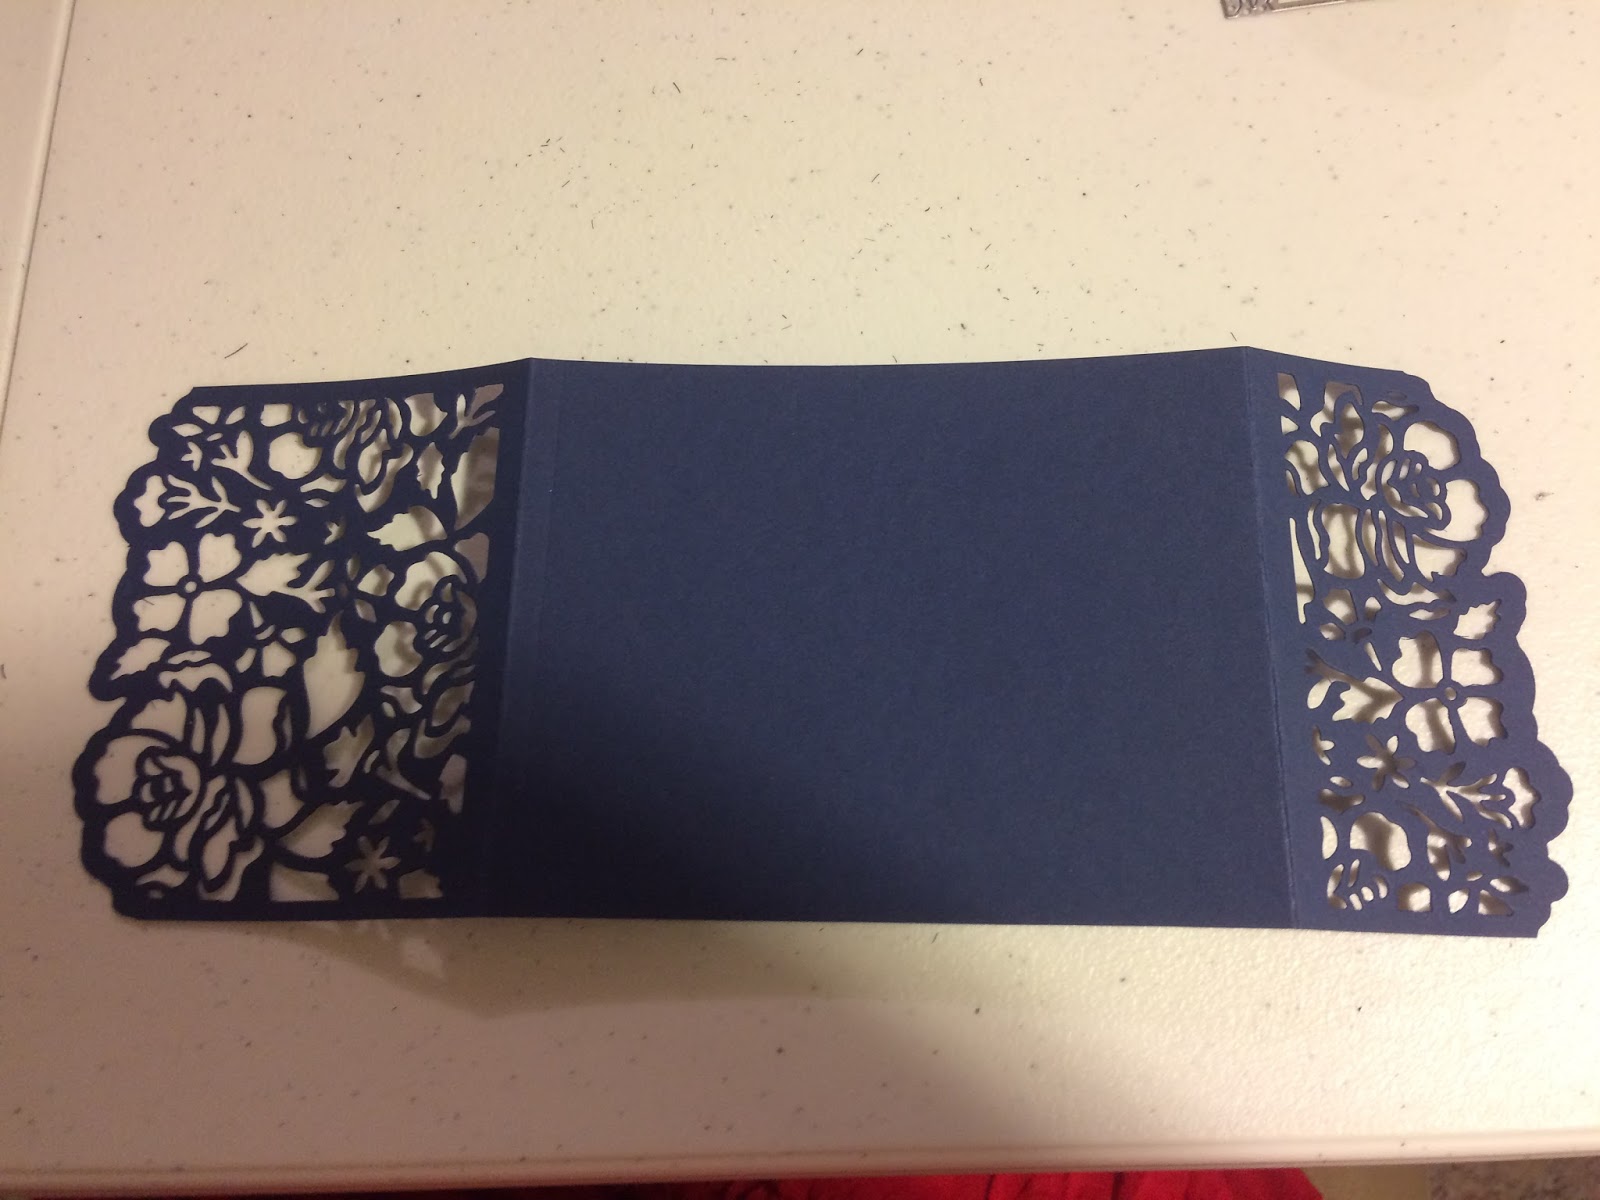
Cut
a piece of night of navy 29cm long and score at 9.5cm then at 23cm. Run through with the dies.
The
panel is in 2 pieces and adjoined together. Piece one is 21cm x 13.2cm scored at 10.5cm, 2nd
piece is 11.5cm x 13.2cm scored at 1.2 cm giving the panel size 10.3cm x 13.2cm
when joined with piece one.
The ribbon goes in between these two layers. Attach the folding panel to the back of the decorative pattern. The layered whisper white panels are 10cm x 12cm x 4cm